Click Tools, then Add Dependencies. The Create JAR/ZIP file dialog box appears:
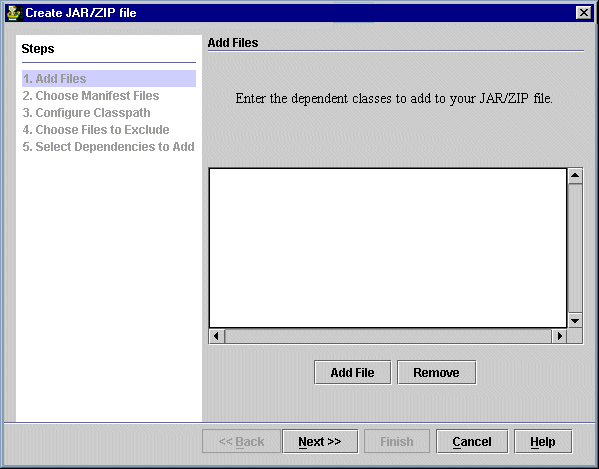
The list indicates which class files you have added thus far (obviously, it is initially blank).
To this list, add files whose dependencies you want to add to your JAR by clicking Add File and navigating to the file's directory. Next, select the file and click Add.
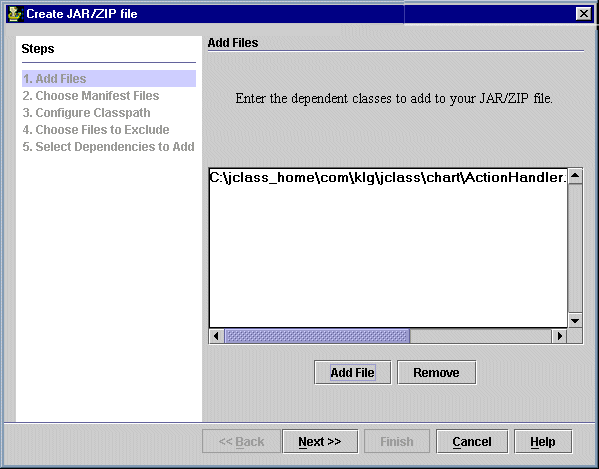
In addition to individual files, you can also select entire directory folders. When you Add an entire directory, JarMaster's Directory Filter appears:

Here, you can set up search conditions so that only the matching files in the directory are included.
Click Next when you have finished adding files.
Add the manifest files for any of the classes that you have included by clicking Add File and navigating the the file's directory. Next, select the file and click Add.
The list indicates which manifest files you have added thus far (again, it is initially blank). If you need to remove any manifest files that you have added, simply select the file and click Remove.
When you have finished altering the list, click Next.
To this list, you should add the manifest files that exist for the classes you selected in the previous step.
When the JAR is being created, JarMaster looks through these manifest files for any relevant entries. A manifest entry is considered relevant if it is associated with any of the classes you selected, as well as their direct and indirect dependencies. All relevant entries from all included manifest files are consolidated into a new manifest file.
If you have not created a manifest file, the Wizard will not be able to make it for you. Once your JAR has been built, you should create one using JarMaster's Manifest Editor.
Verify and, if necessary, modify the CLASSPATH. Click Next.
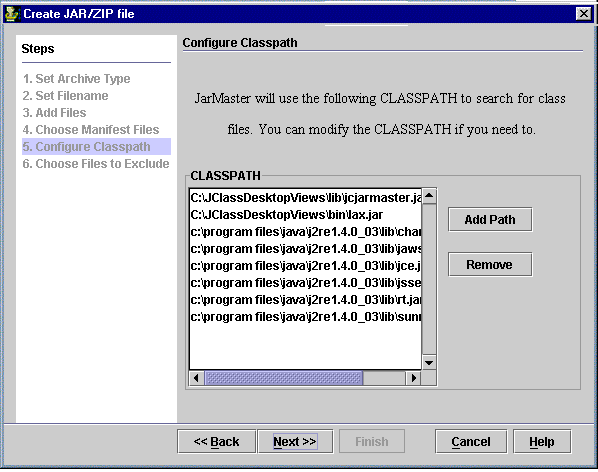
The list of CLASSPATH entries is based on your environment CLASSPATH. These are the paths that JarMaster needs and uses to include all necessary class files, and to search for their direct and indirect dependencies.
If you modify any CLASSPATH entries here while adding dependencies, the changes only take effect for this particular JarMaster session.
Choose packages and classes to exclude from your JAR, and click Next.
By default, JarMaster excludes any files that are part of Sun's Java and Swing packages. If any of these packages' files are dependent on your selected classes, they will not be included in your JAR.
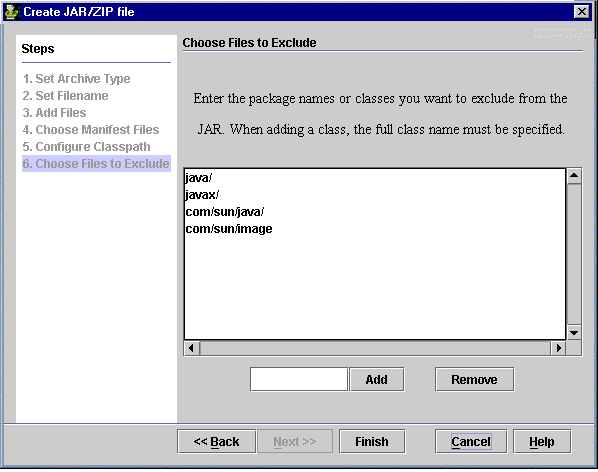
While excluding these packages and their files means that they will be missing from your JAR, it is assumed that the users who are to receive your distribution already have them installed on their own system. Thus, excluding these packages prevents unnecessary bloating of your JAR.
If you wish, you can include these packages by selecting them and clicking Remove. This removes them from this exclusion list. If you do this, you must have these packages listed in your CLASSPATH.
You can Add any other packages to this exclusion list if you are certain the users who will receive your distribution already have them on their system.
Select those found dependencies that are to be added to the JAR.
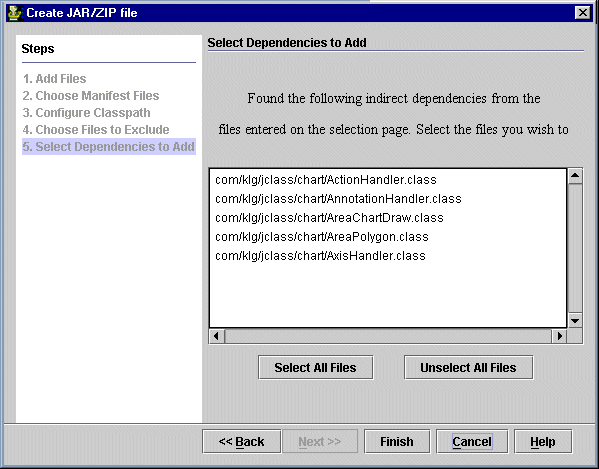
Based on the files selected, JarMaster lists all the dependent classes found that are not already found in your JAR.
Review the list of the new dependencies and select the ones that are to be included. If all found dependencies are to be included, you can easily Select All Files.
Click Finish.
The JAR window displays the updated JAR.
The selected classes and their dependencies are now included, and their package structures and paths are retained and incorporated into the JAR.
Note: File ratios and sizes are not updated until the JAR has been saved.
Click File, then Save to archive the new files into the JAR, and to calculate the file sizes and compression ratios.